i thought it would be nice to kick off a new regular feature over here at the homestead. as will become obvious the more i write and share in this space, i am happiest and most content when i am using my hands or a pretty machine to make something beautiful. while i try to venture into new crafts and techniques, my favorite projects are those that are useful and resourceful - and yes, they have to look nice, too. the other day, while searching for some directions to some something or other, i thought to myself:
' i think i make pretty things,
and i think i take pretty pictures,
and i think i could make a pretty good tutorial or two.'
and i think i could make a pretty good tutorial or two.'
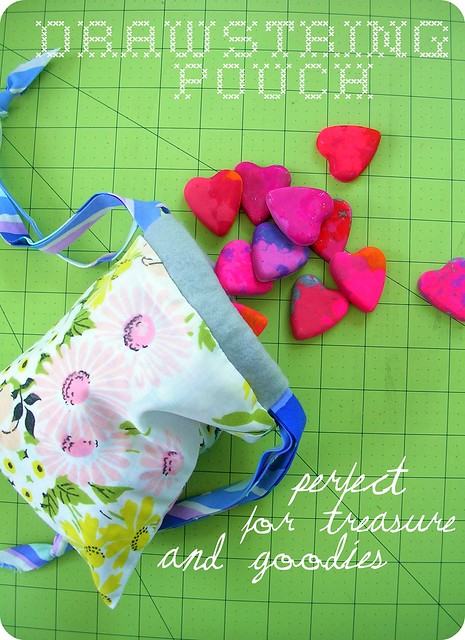
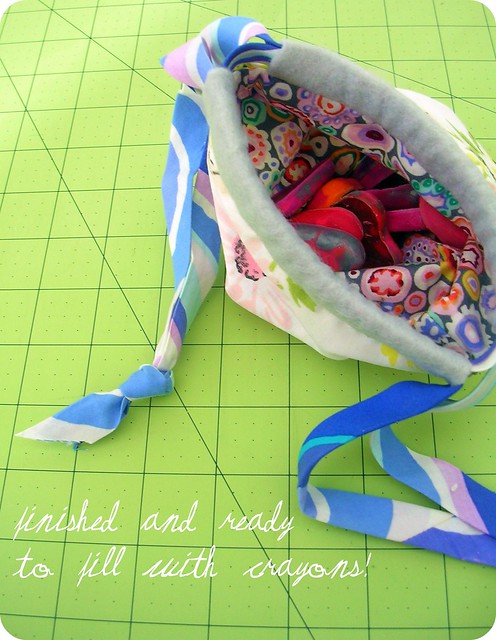
so, here goes. i chose to start with a really simple project (i made this in the hour or so that frances was sleeping so quietly in the afternoon) that is a great everyday item to have in your pocket or your purse. in my new drawstring pouch i will keep
crayons for emergency boredom
spare change and
sparkly treasure found on the sidewalk.


spare change and
sparkly treasure found on the sidewalk.
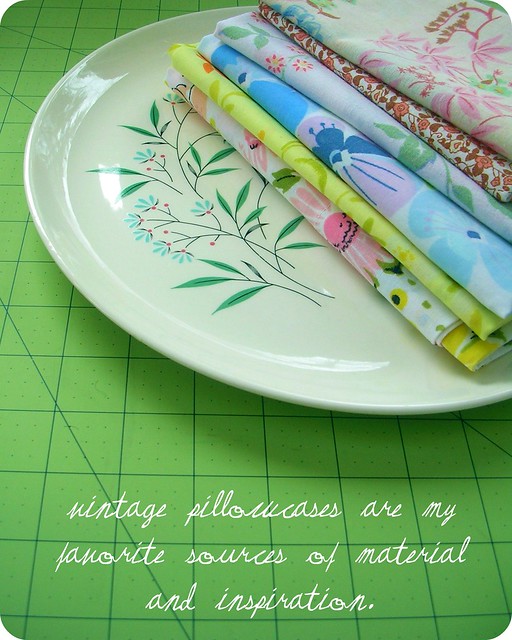
step number one.
and my most favorite step. i use a lot of vintage pillowcases when making my farm girl dresses (think about it - no side seams to sew and no hemming - amazing) but a whole dress does not take a whole pillowcase, leaving me with plenty of scraps of beautiful, vintage fabric. mix and match your fabrics, play around with color and prints and stripes and plaids - since this is such a small project that is not intended to be worn, have fun!
and my most favorite step. i use a lot of vintage pillowcases when making my farm girl dresses (think about it - no side seams to sew and no hemming - amazing) but a whole dress does not take a whole pillowcase, leaving me with plenty of scraps of beautiful, vintage fabric. mix and match your fabrics, play around with color and prints and stripes and plaids - since this is such a small project that is not intended to be worn, have fun!
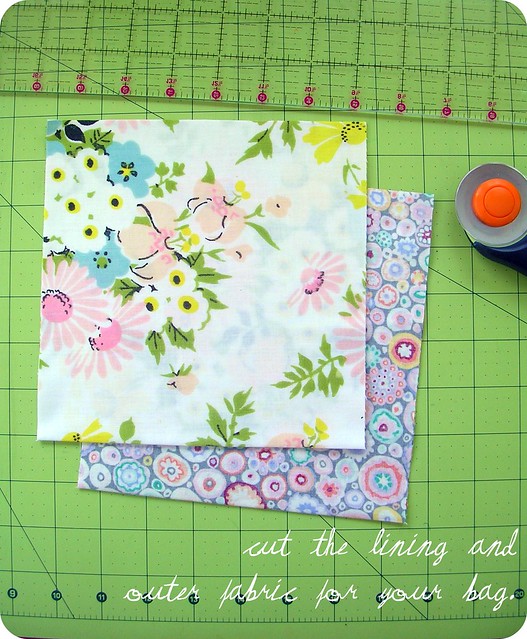
step number two.
cut two rectangles that measure 7"x14" to achieve a bag that is about 6"x6" (you will be using a 1/2" seam allowance). i find it easiest to cut on the fold - this way you will only have to sew up the side seams, but remember that if you cut on the fold, you will cut a 7"x7" square, accounting for the fold on one side.
cut two rectangles that measure 7"x14" to achieve a bag that is about 6"x6" (you will be using a 1/2" seam allowance). i find it easiest to cut on the fold - this way you will only have to sew up the side seams, but remember that if you cut on the fold, you will cut a 7"x7" square, accounting for the fold on one side.
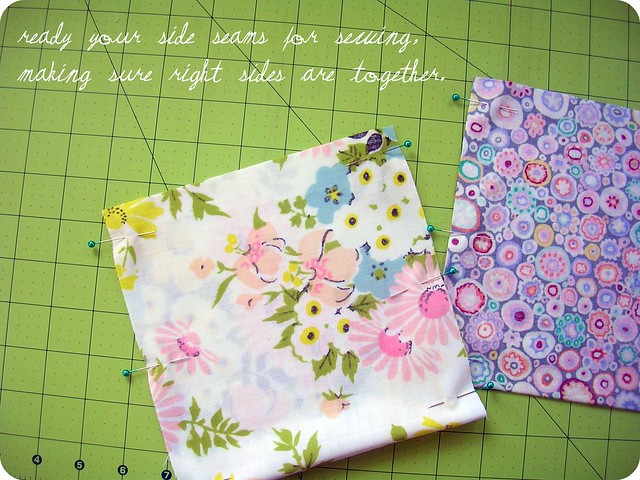
step number three.
pin your side seams together in preparation for sewing your exterior and lining. since this bag is so small, chances are you won't have to use many pins.
pin your side seams together in preparation for sewing your exterior and lining. since this bag is so small, chances are you won't have to use many pins.
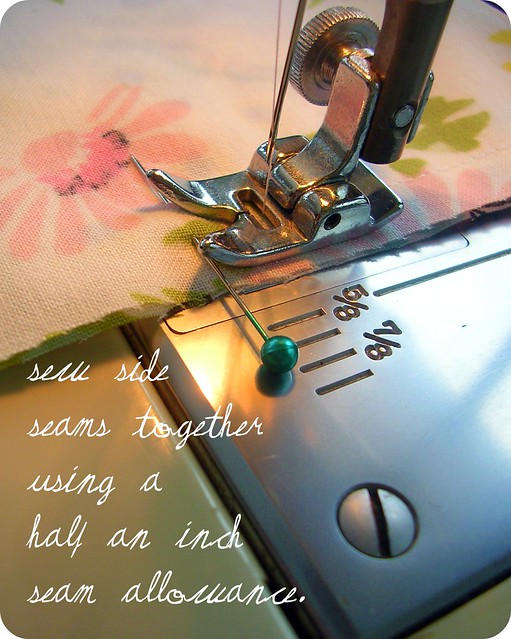
step number four.
using a straight stitch on your sewing machine, sew up all of the side seams with a 1/2" seam allowance, making sure to remove all of your pins as you go. its no fun to hit a pin with your machine's needle - its both dangerous for your sewing machine and for you (keep your eyeballs intact, please). leave a 2" opening on the bottom corner of one of the sides of your lining. this is a very important step when finishing your bag, so don't forget it!
using a straight stitch on your sewing machine, sew up all of the side seams with a 1/2" seam allowance, making sure to remove all of your pins as you go. its no fun to hit a pin with your machine's needle - its both dangerous for your sewing machine and for you (keep your eyeballs intact, please). leave a 2" opening on the bottom corner of one of the sides of your lining. this is a very important step when finishing your bag, so don't forget it!
step number five.
press all of your seams open to achieve a beautiful, professional finish. turn your exterior fabric right side out and keep your lining wrong side out.
press all of your seams open to achieve a beautiful, professional finish. turn your exterior fabric right side out and keep your lining wrong side out.
step number six.
cut two pieces of fabric that will serve as the channels for your drawstring. i like to use wool felt - it holds up well when in use and there is no extra sewing involved. as a general rule of thumb, it is best to cut your channels about 1/2" shorter than the final measurement of your bag - i cut two 5.5"x2.5" channels which are then folded in half and pressed to keep that fold. if you prefer to use a cotton, cut your channels to be the same width as your bag (in this case, that would be 6") and fold over and sew 1/4" on either side to avoid fraying and to achieve a more finished look.
cut two pieces of fabric that will serve as the channels for your drawstring. i like to use wool felt - it holds up well when in use and there is no extra sewing involved. as a general rule of thumb, it is best to cut your channels about 1/2" shorter than the final measurement of your bag - i cut two 5.5"x2.5" channels which are then folded in half and pressed to keep that fold. if you prefer to use a cotton, cut your channels to be the same width as your bag (in this case, that would be 6") and fold over and sew 1/4" on either side to avoid fraying and to achieve a more finished look.
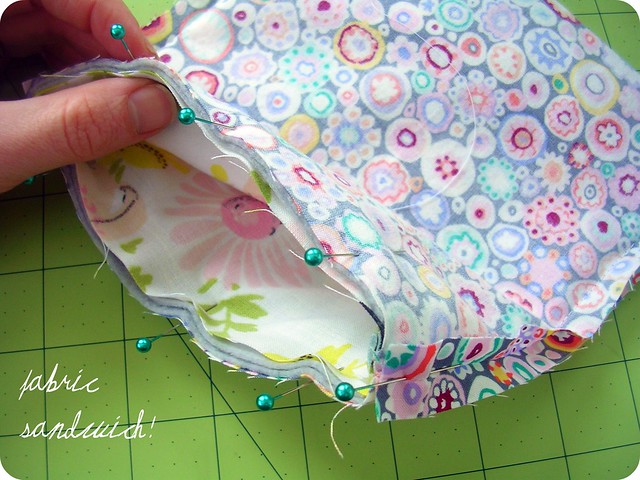
step number seven.
almost there! now its time to put together all of the different components of your bag - i like to call it the fabric sandwich step. the inside layer will be your exterior fabric (right side out), then come your drawstring channels (fold down), and finally your lining (wrong side out). all of the unfinished edges of your fabric should meet and your drawstring channels should be evenly spaced between both side seams.
almost there! now its time to put together all of the different components of your bag - i like to call it the fabric sandwich step. the inside layer will be your exterior fabric (right side out), then come your drawstring channels (fold down), and finally your lining (wrong side out). all of the unfinished edges of your fabric should meet and your drawstring channels should be evenly spaced between both side seams.
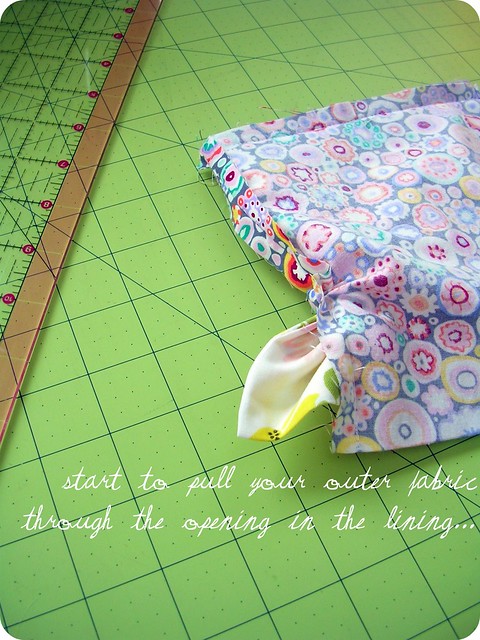
step number eight.
using a 1/2" seam allowance again, sew around the entire top edge of your fabric sandwich. once this is done, you can start to pull the exterior through the opening you left in the lining. now you can see your bag forming...
using a 1/2" seam allowance again, sew around the entire top edge of your fabric sandwich. once this is done, you can start to pull the exterior through the opening you left in the lining. now you can see your bag forming...
step number nine.
keep pulling...
keep pulling...
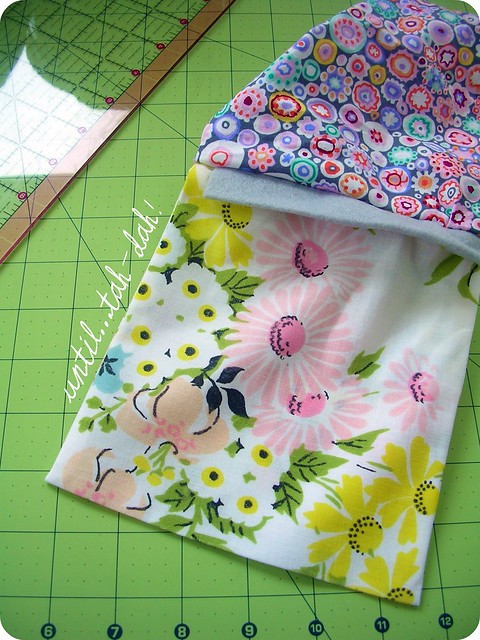
step number ten.
et voila! before pushing the lining into the exterior fabric to form your bag, sew up the opening left in the lining by either using your machine (i sew the opening shut with a small stitch very close to the edge), or by hand with a blind stitch. and now your bag is fully formed - the lining might need a little help getting down into the corners of your exterior fabric, but look, there it is!
et voila! before pushing the lining into the exterior fabric to form your bag, sew up the opening left in the lining by either using your machine (i sew the opening shut with a small stitch very close to the edge), or by hand with a blind stitch. and now your bag is fully formed - the lining might need a little help getting down into the corners of your exterior fabric, but look, there it is!
step number eleven.
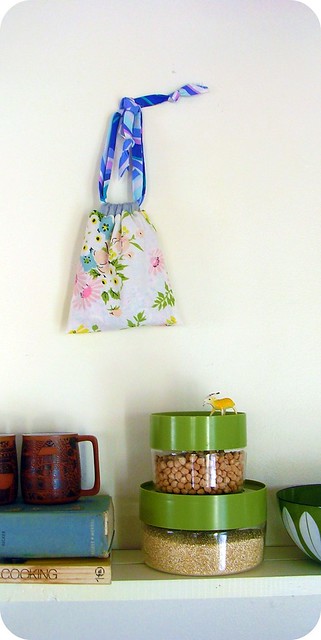
using bias tape or ribbon or yarn, its time to create the drawstrings on your pouch. i like to use a loop turner to thread my ribbon through the channels, but you could use a safety pin or a tapestry needle. you also have a few choices when it comes to different styles of closing your bag - you could use only one piece of ribbon and the pouch would be pulled shut on one side, or you could do like i did and thread two ribbons through the channels. this method creates a bag that is shut by pulling both ribbons at the same time (i think its pretty and very functional).
using bias tape or ribbon or yarn, its time to create the drawstrings on your pouch. i like to use a loop turner to thread my ribbon through the channels, but you could use a safety pin or a tapestry needle. you also have a few choices when it comes to different styles of closing your bag - you could use only one piece of ribbon and the pouch would be pulled shut on one side, or you could do like i did and thread two ribbons through the channels. this method creates a bag that is shut by pulling both ribbons at the same time (i think its pretty and very functional).
i filled my new little treasure bag with heart shaped crayons for frances on valentines day.
maybe the next tutorial will be about making your own crayons...
maybe the next tutorial will be about making your own crayons...
You are a very clever girl! ♥ Your fabrics and photos are Springy and bright - just the most lovely thing!
ReplyDeletegorgeous!! LOVE the last photo, and i think you were very clear-bravo! this is anonymous, but it's me, jen!
ReplyDeletei love you blog. you should give sewing lessons to girls like me who love the idea but don't know how to start. its erin by the way. xo
ReplyDeletethat is what i hope to do someday - sewing summer camp for all! (thank you, erin <3)
ReplyDelete